Your First Gallery
Now that you’re logged in, let’s create a gallery and share it with a client.
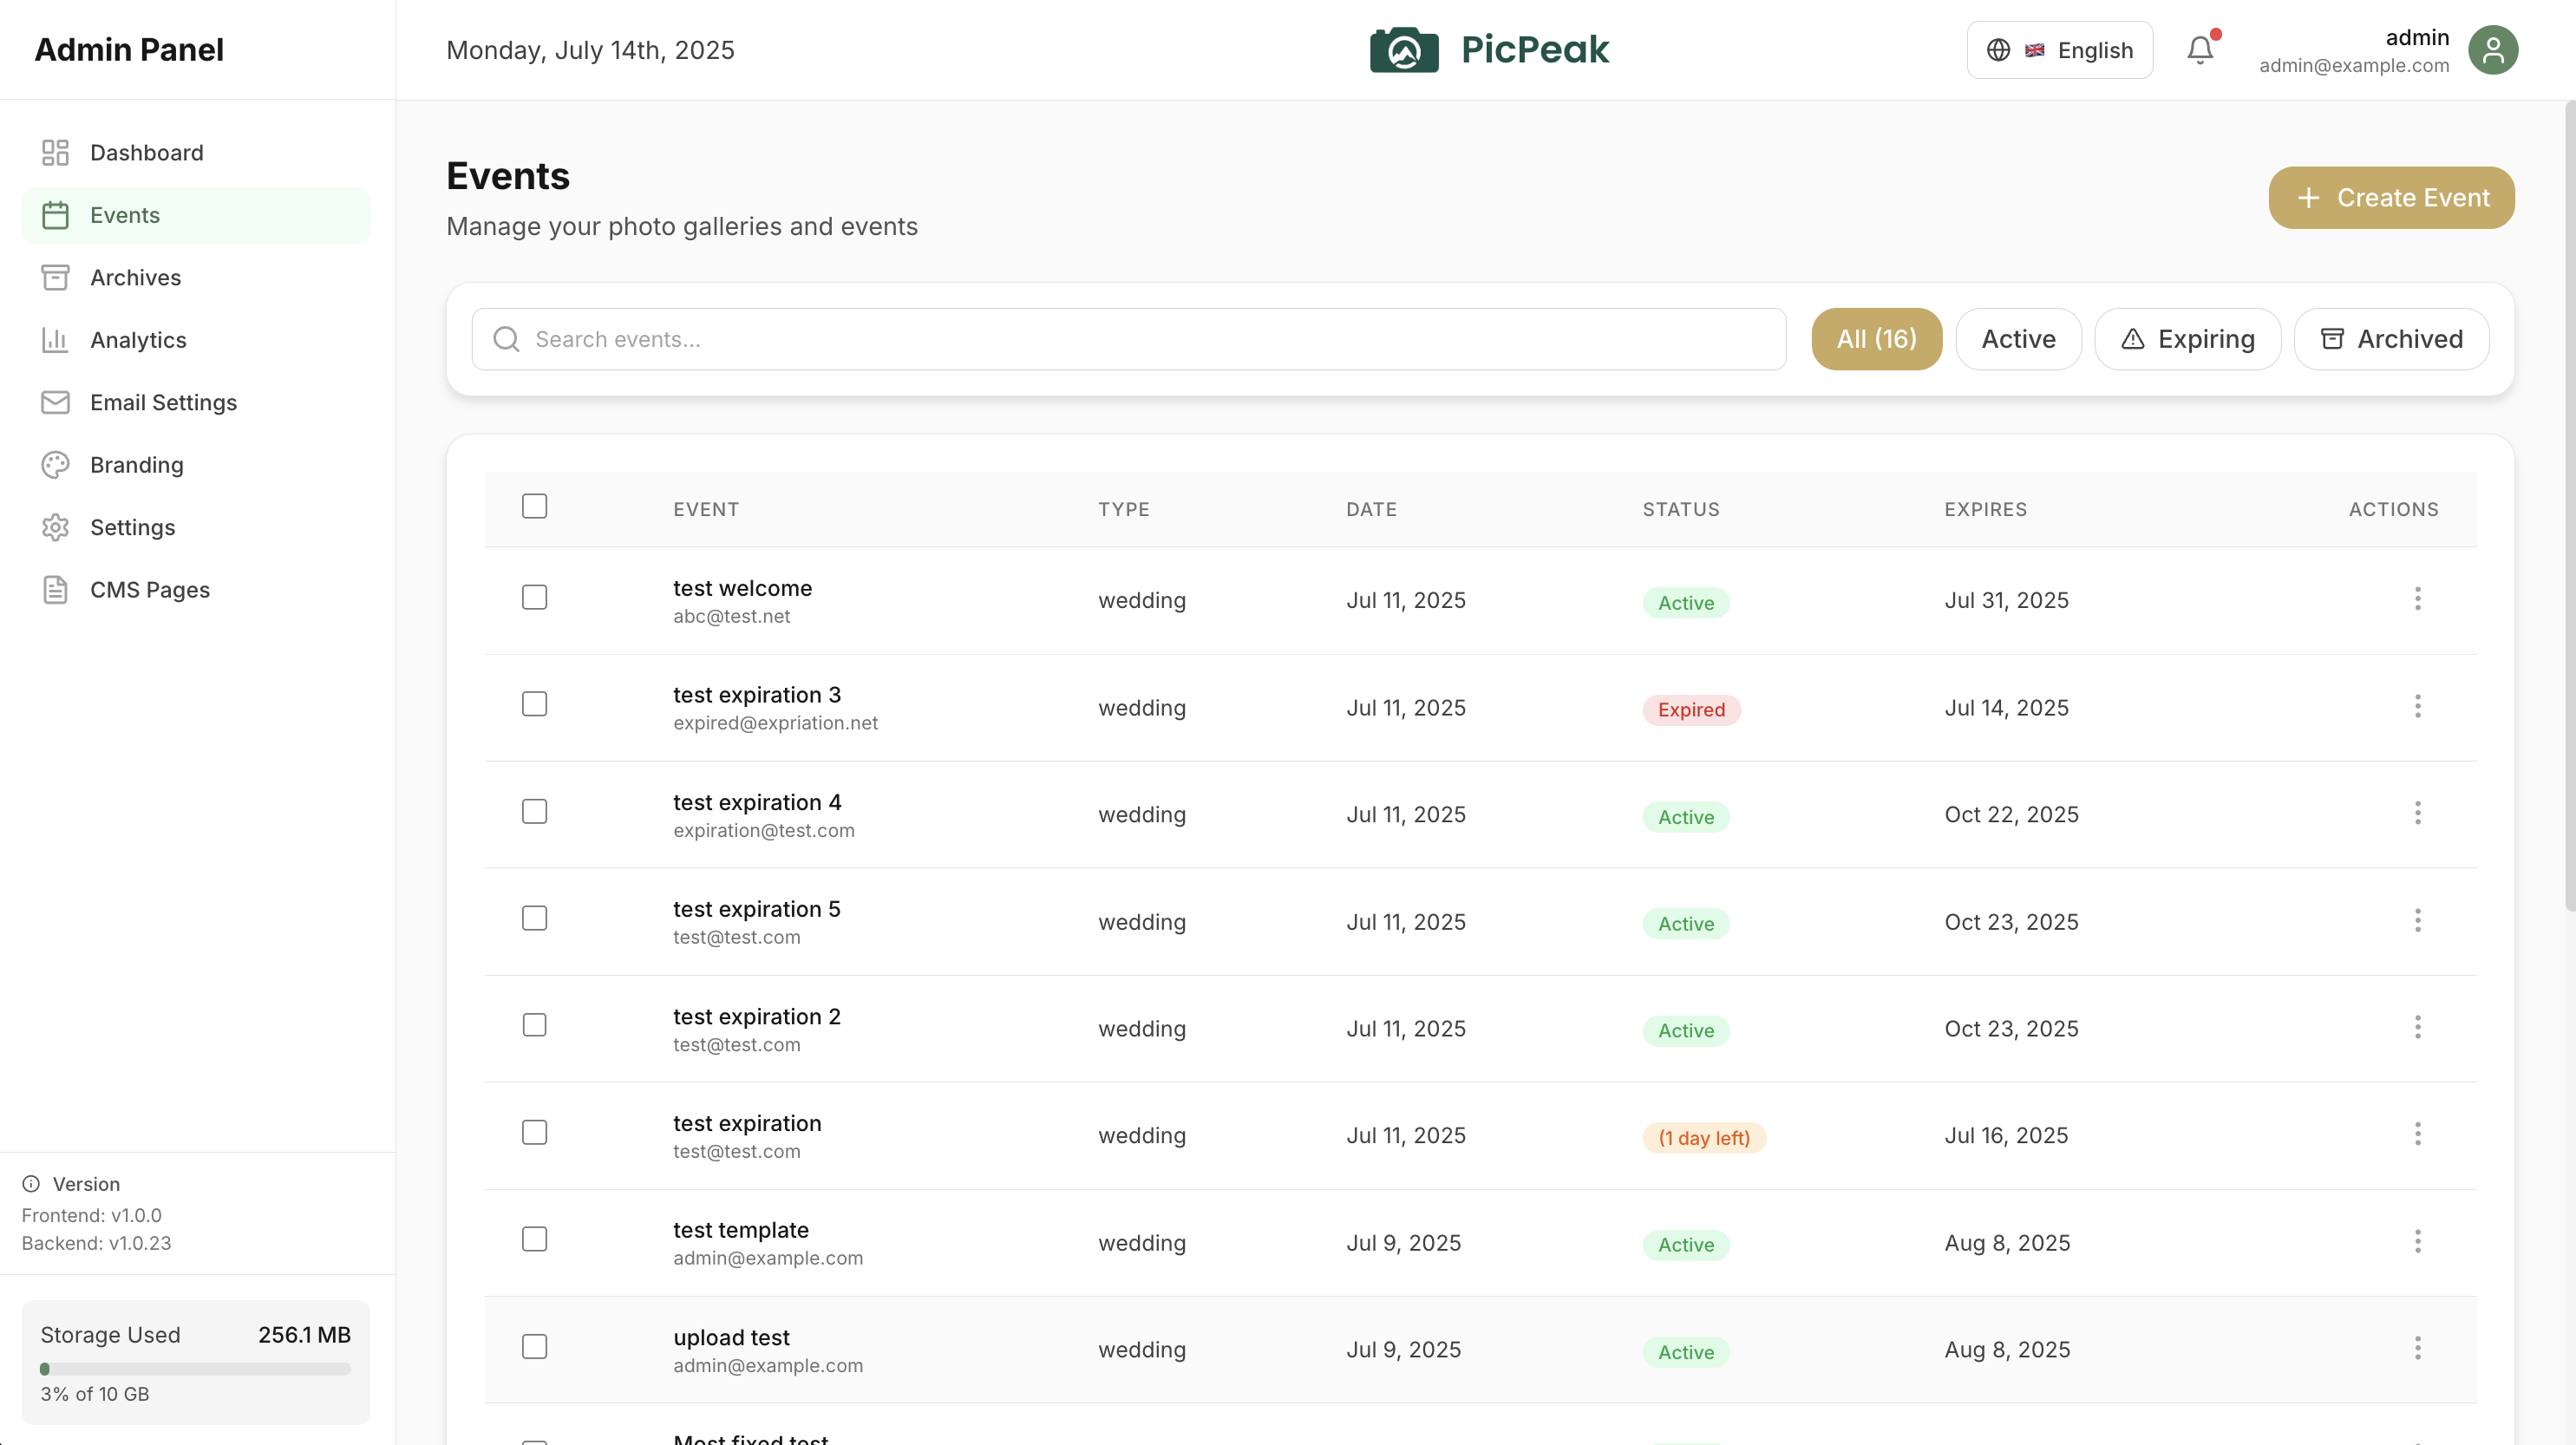
Create an event
Click Create Event on the dashboard. Fill in:
- Event type — Wedding, Birthday, Corporate, etc.
- Event name — this becomes the gallery title (e.g. “Smith Wedding”)
- Event date
- Customer email — the client who’ll receive the gallery link
- Password — guests need this to access the gallery
Click Create Event. The event is created as a draft — your client won’t receive any email yet.
Upload photos
Open the event and go to the Photos tab. Drag and drop your images — PicPeak accepts JPEG, PNG, and WebP up to 50 MB each. Thumbnails are generated automatically.
You can organize photos into categories (e.g. Ceremony, Reception, Portraits) from the Categories tab.
Preview the gallery
While the event is still a draft, click View Gallery in the event header. As an admin, you’ll see a preview of exactly what your client will see. This preview uses a temporary token — the gallery is not publicly accessible yet.
Publish and notify
When everything looks good, click Publish & Notify Client in the yellow draft banner. This does two things:
- Makes the gallery publicly accessible (with password protection)
- Sends the gallery link and password to your client’s email
You can edit the client’s email address after creation if you didn’t have it when you set up the event. Click Edit on the event details page.
What’s next
- Features — explore themes, photo protection, analytics, and more
- Deployment — configure your domain, SSL, and email for production
- Guides — detailed walkthroughs for common tasks